Action Outboards
Saving your gel coat is the focus of this weeks tip.
Everybody customizes their boat. Whether it's adding electronics, navigation equipment or installing a few cup or rod holders, it's important to know how to properly drill a hole for the mounting hardware in your gel coat.
Before you drill into your gel coat, make sure you have clearance behind the area you plan on drilling through. Apply masking tape over the area and drill through the tape into the gel coat. Remove the tape and, using a drill bit 2 sizes larger than that used to drill the holes, rotate the bit BY HAND in the new holes to chamfer the hole edges prior to installing the hardware. This will prevent cracking the gel coat around the circumference of the hole as the mounting hardware is tightened down.
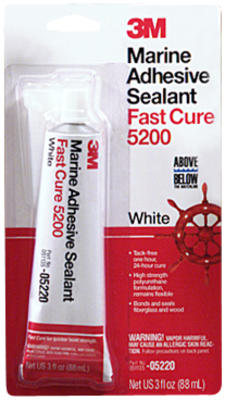
Be sure to apply Marine grade adhesive sealant to the hardware prior to installation. This is especially true of holes you drill at or below the waterline, but should be used on ALL holes you make in your boat. Boats vibrate a lot underway (and while trailering down the road) which allows unsealed hardware to loosen. Even if you thru-bolt your installations (the best method), you should always seal the holes. We recommend 3M brand 5200 sealant (click for manufacturer's info).
This product is available at all marine stores as well as local Wal-Marts, K-Marts, etc.
Properly drilling and sealing your installations not only looks good, but leaves no worries because
you did it right the first time.
Happy Boating!!!
-
-

- Home
-
-